Docker镜像
tag
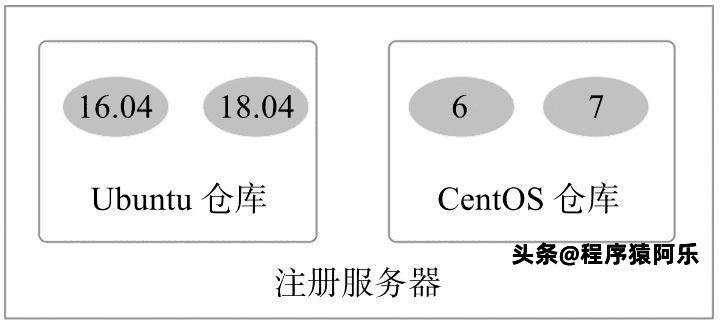
某一类镜像,往往包括多个镜像文件,通过不同的标签(tag)来进行区分。例如存放Ubuntu包括16.04、18.04等不同版本的镜像。
基础镜像
Busybox-2MB-最常用Linux命
集成了一百多个最常用Linux命令(如cat、echo、grep、mount、telnet等)的精简工具箱,只有不到2MB大小。
例子:获取官方Busybox镜像:
docker pull busybox:latest

todo
运行busybox:
	docker run -it busybox
	grep
	mount

读者可以用它快速熟悉Linux命令

相关资源如下:
	BusyBox官网:https://busybox.net/
	BusyBox官方仓库:https://git.busybox.net/busybox/
	BusyBox官方镜像:https://hub.docker.com/_/busybox/
	BusyBox官方镜像仓库:https://github.com/docker-library/busybox
Alphine-5MB左右-比BusyBox完善
一个面向安全的轻型Linux发行版,关注安全,性能和资源效能。
采用了musllibc和BusyBox以减小系统的体积和运行时资源消耗,比BusyBox功能上更完善。
todo

在保持瘦身的同时,Alpine还提供了包管理工具apk查询和安装软件包。
	apk add --no-cache <package>
	更新仓库列表
		echo "http://dl-4.alpinelinux.org/alpine/edge/testing" >> /etc/apk/repositories
		apk --update add --no-cache <package>

Docker官方推荐
docker run alpine echo '123'
迁移至Alpine基础镜像
	ubuntu/debian ->  alpine
	python:2.7-> python:3.6-alpine
	ruby:2.6-> ruby:2.6-alpine
Apline的相关资源如下:
	Apline官网:http://alpinelinux.org/
	Apline官方仓库:https://github.com/alpinelinux
	Apline官方镜像:https://hub.docker.com/_/alpine/
	Apline官方镜像仓库:https://github.com/gliderlabs/docker-alpine
Debian/Ubuntu
todo

Debian
	适合研发场景
	docker run -it debian bash
	例子:UTF-8支持
	Debian的相关资源如下:
		Debian官网:https://www.debian.org/
		Debian官方镜像:https://hub.docker.com/_/debian/

Ubuntu
	docker search --filter=stars=50 ubuntu
	docker run -it ubuntu:18.04 bash
		cat /etc/lsb-release
		apt-get update
		apt-get install curl
		apt-get install -y apache2
		service apache2 start
	Ubuntu相关资源
		Ubuntu官网:http://www.ubuntu.org.cn/global
		Ubuntu官方镜像:https://hub.docker.com/_/ubuntu/
Debian Buster 10.3
CentOS/Fedora
todo

CentOS
	企业级服务器的常用操作系统
	docker run -it centos bash
Fedora
	主要面向个人桌面用户。
	docker search --filter=stars=50 fedora
	docker run -it fedora bash
	Fedora的相关资源如下:
		Fedora官网:https://getfedora.org/
		Fedora官方镜像:https://hub.docker.com/_/fedora/CentOS的相关资源如下:
		CentOS官网:https://www.centos.org/
		CentOS官方镜像:https://hub.docker.com/_/centos/
用过的镜像
php
php:7.4.8-apache

https://github.com/docker-library/php/blob/1ad18817e5de82df1a8855fe711de0b3c0c320b9/7.4/buster/apache/Dockerfile

FROM debian:buster-slim
镜像操作
Docker镜像操作命令与例子一文读完:
目录:
--registry-mirror指定代理加速
pull获取镜像/拉取镜像
images列出本地镜像
tag给镜像打标签
inspect查看镜像详细信息
history查看镜像历史/创建信息(输岀完整命令)
search搜寻镜像
rmi删除镜像
prune清理镜像
创建镜像commit、import、build
save镜像导出到本地
load导入镜像
push推送镜像
加速-指定代理
有时需要使用镜像代理服务来加速Docker镜像获取过程,可以在Docker服务启动配置中增加--registry-mirror=proxy_URL来指定镜像代理服务地址(如https://registry.docker-cn.com)。
pull-获取镜像/拉取镜像
docker pull [OPTIONS] NAME[:TAG|@DIGEST]
docker [image] pull [OPTIONS] NAME[:TAG|@DIGEST]
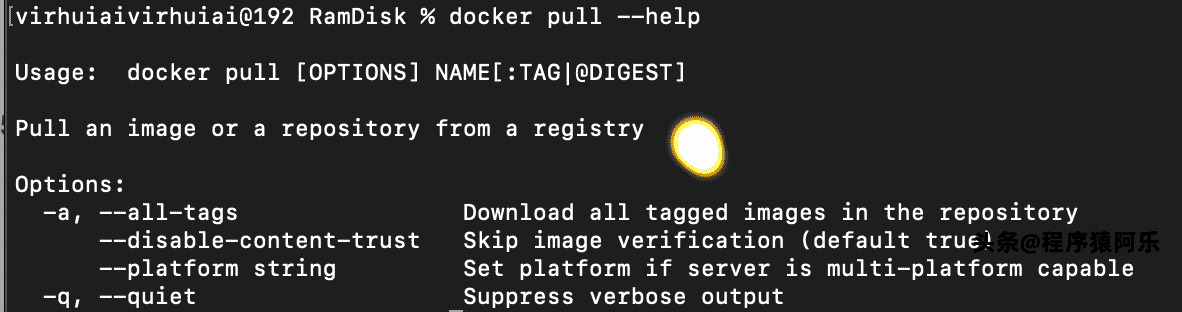
docker pull --help
docker image pull --help
pull选项
pull子命令支持的选项介绍:
-
-a, --all-tags=true|false:Download all tagged images in the repository
是否获取仓库中的所有镜像,默认为否;
-
--disable-content-trust:Skip image verification (default true)
取消镜像的内容校验,默认为真。
-
--platform string:Set platform if server is multi-platform capable
多平台设置
-
-q, --quiet:Suppress verbose output
禁止详细输出
images-列出本地镜像
Usage: docker image pull [OPTIONS] NAME[:TAG|@DIGEST]
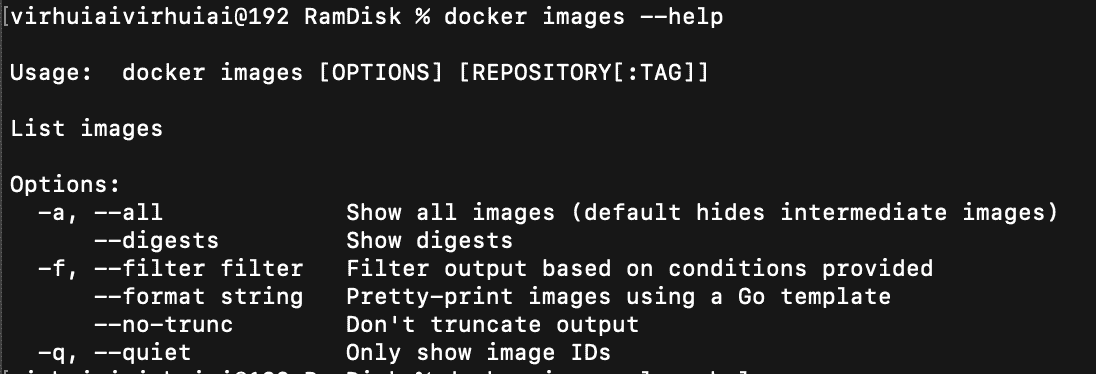
docker images --help
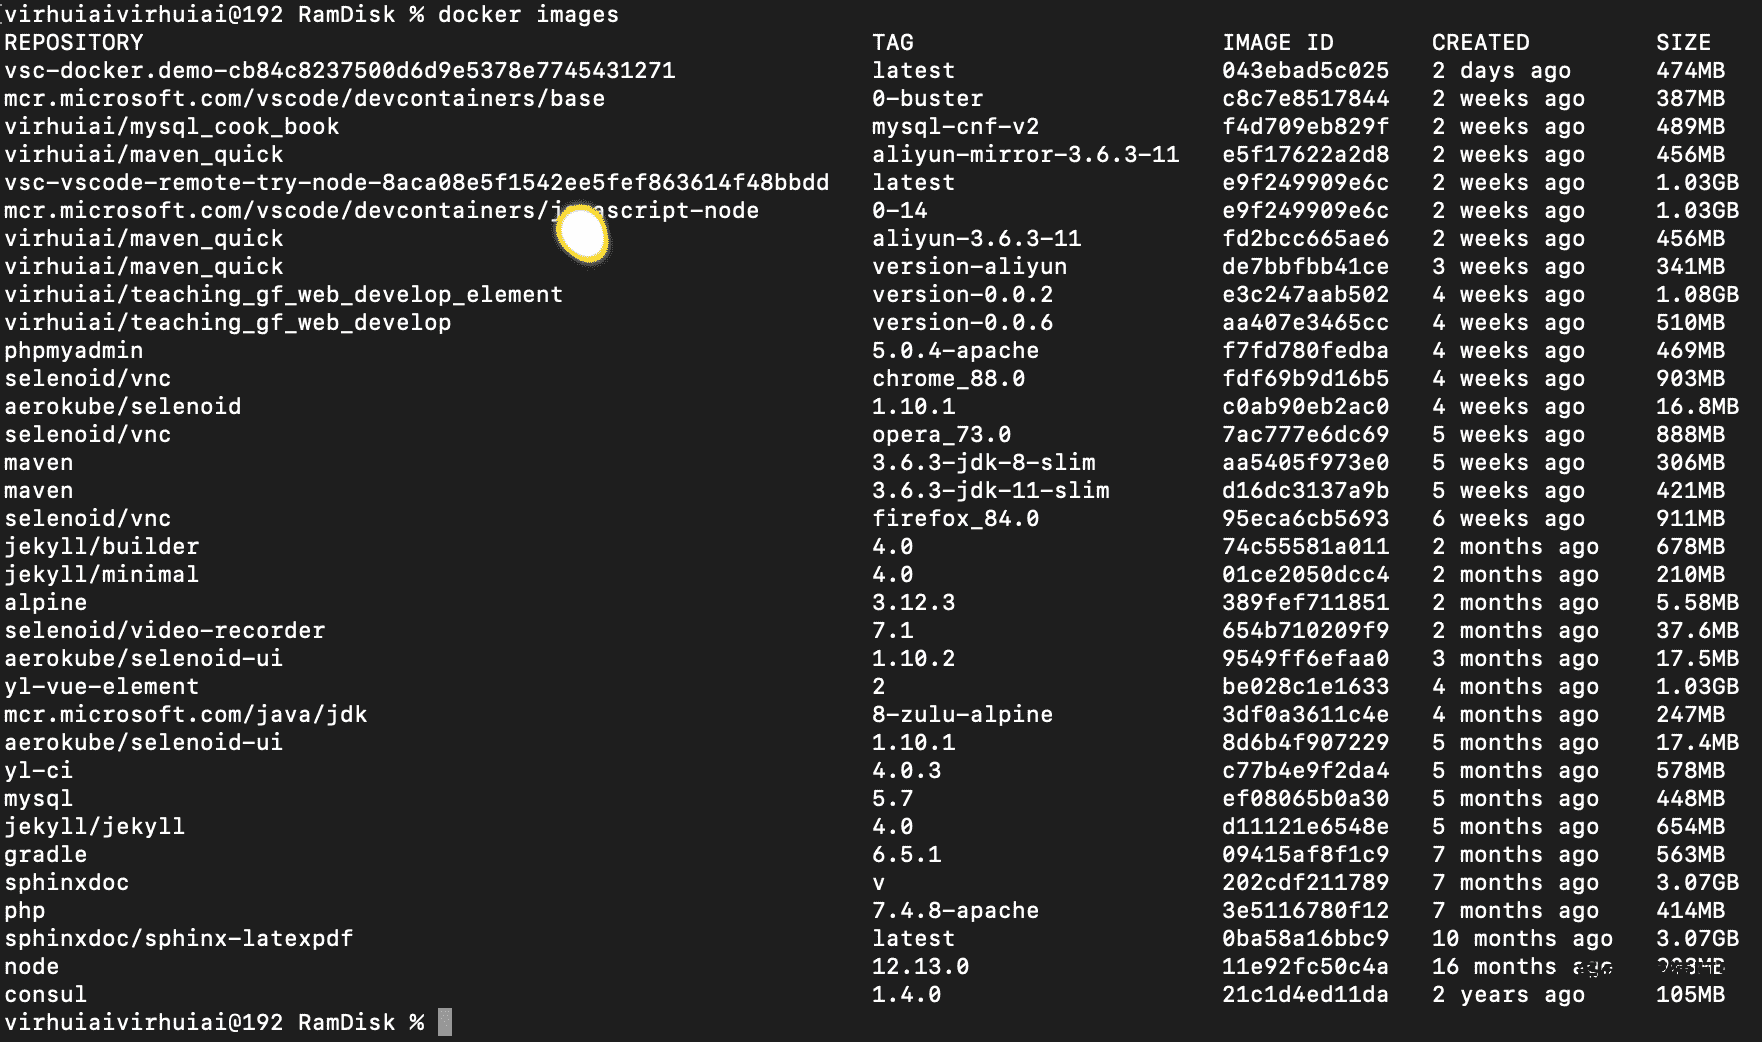
例子:列出本地主机上已有镜像的基本信息。
docker images
例子:列出悬空的镜像
docker images -f dangling=true
images选项
images子命令支持的选项介绍:
-
-a, --all=true|false:Show all images (default hides intermediate images)
列出所有(包括临时文件)镜像文件,默认为否;
-
--digests=true|false:Show digests
列出镜像的数字摘要值,默认为否;
-
-f, --filter=[]:Filter output based on conditions provided
过滤列出的镜像,如
dangling=true只显示没有被使用的镜像(悬空的镜像,镜像ID和标签都已被删除,并以none 关键字表示 );也可指定带有特定标注的镜像等; -
--format="TEMPLATE":Pretty-print images using a Go template
控制输出格式,如
.ID代表ID信息,.Repository代表仓库信息等; -
--no-trunc=true|false:Don’t truncate output
对输出结果中太长的部分是否进行截断,如镜像的ID信息,默认为是;
-
-q, --quiet=true|false:Only show image IDs
仅输出ID信息,默认为否。
tag-给镜像打标签
为了方便,可用docker tag命令为本地镜像添加新的标签
Usage: docker tag SOURCE_IMAGE[:TAG] TARGET_IMAGE[:TAG]
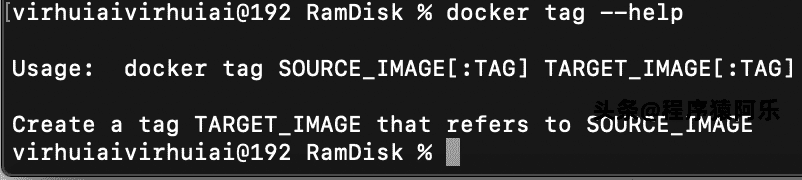
docker tag --help
例子:添加一个新的myubuntu:latest镜像标签:
docker tag ubuntu:latest myubuntu:latest
再次使用docker images列出本地主机上镜像信息,可以看到多了一个myubuntu:latest标签的镜像。
细心的读者可能注意到,myubuntu:latest镜像的ID跟ubuntu:latest是完全一致的,它们实际上指向了同一个镜像文件,只是别名不同而已。docker tag命令添加的标签实际上起到了类似链接的作用。
inspect-查看镜像详细信息
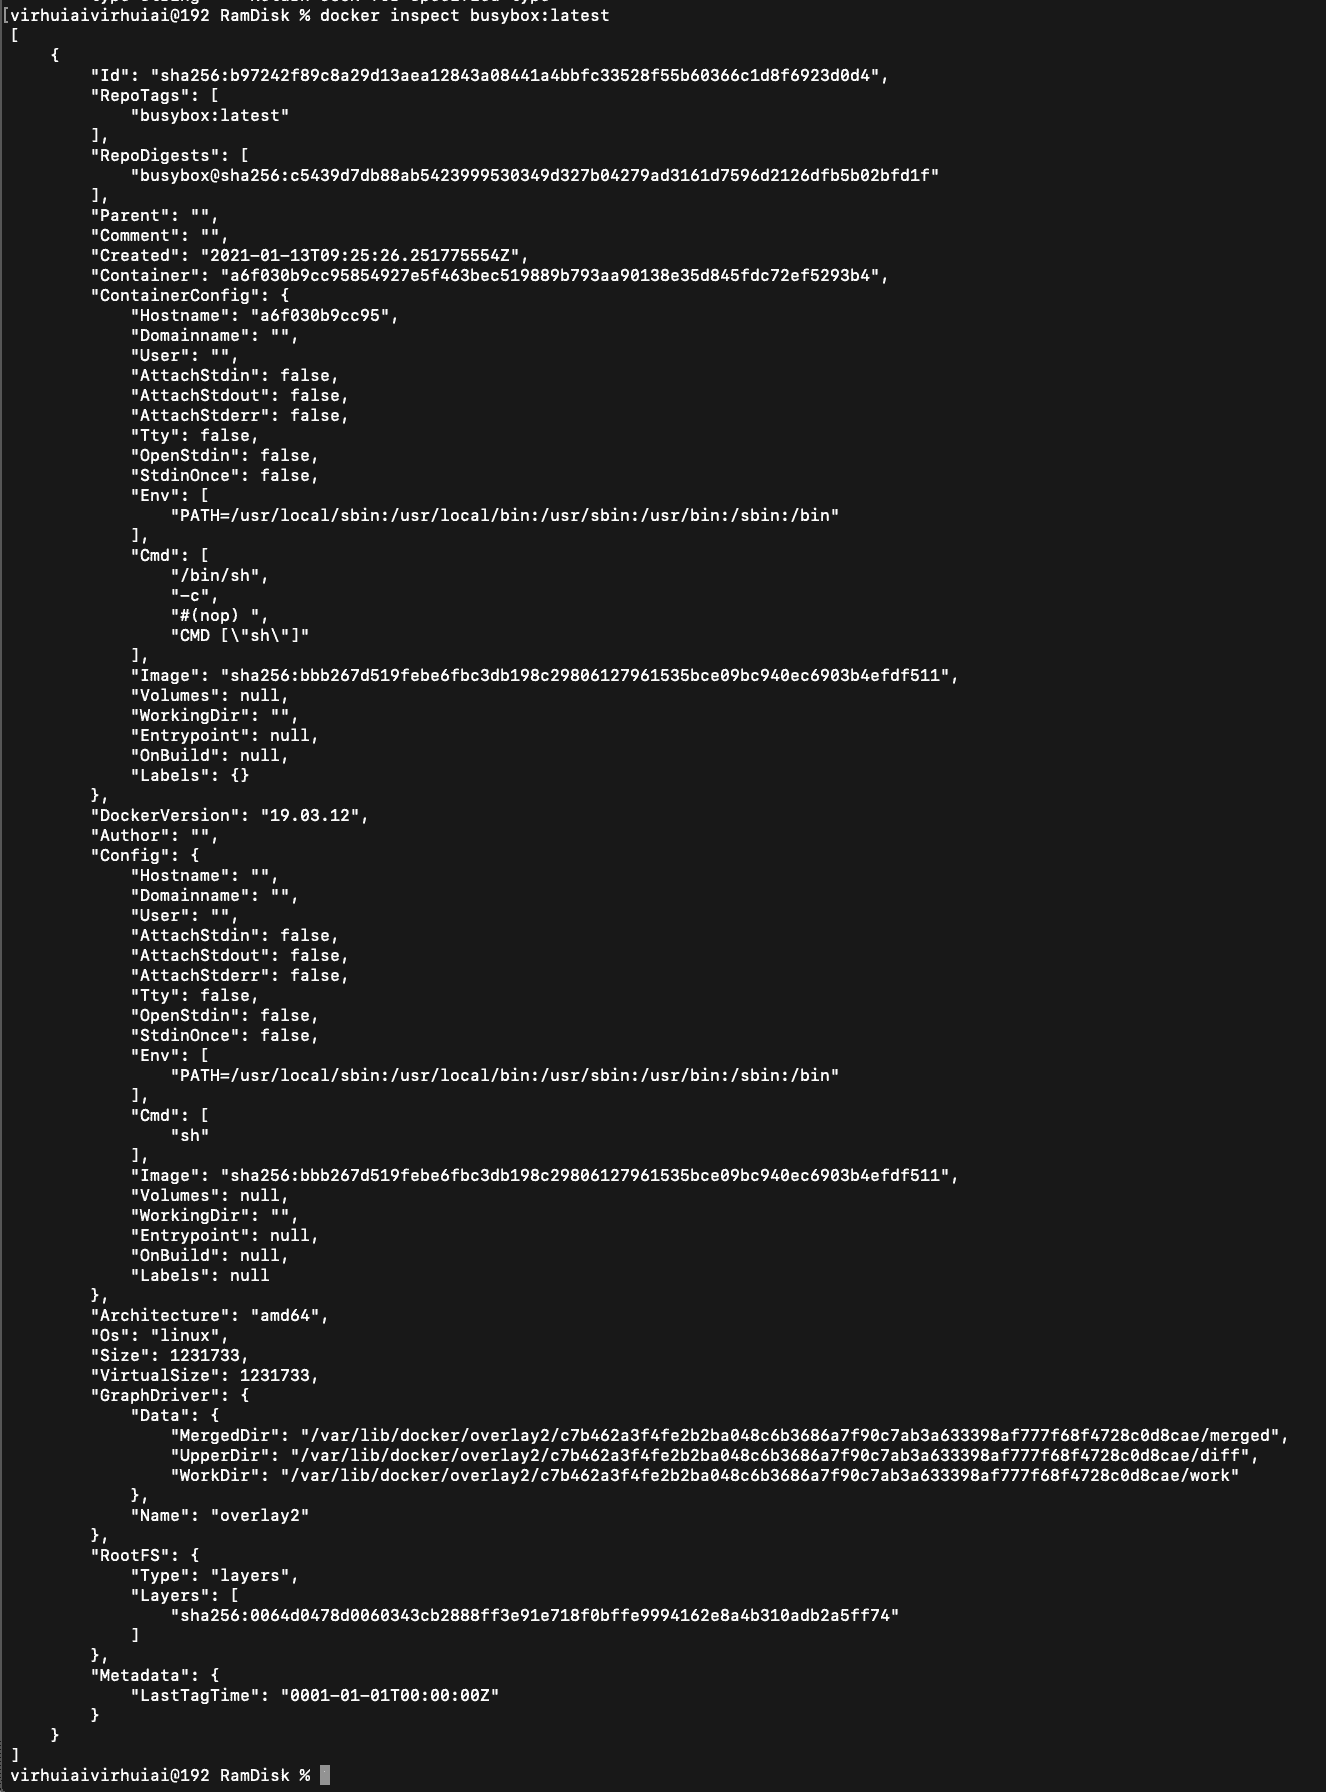
使用docker inspect [image] 命令可以获取该镜像的详细信息,包括制作者、适应架构、各层的数字摘要等。
inspect
美 [ɪn'spekt]
英 [ɪn'spekt]
v.检查;视察;查看;审视
网络检验;检阅;审查
docker inspect [OPTIONS] NAME|ID [NAME|ID...]
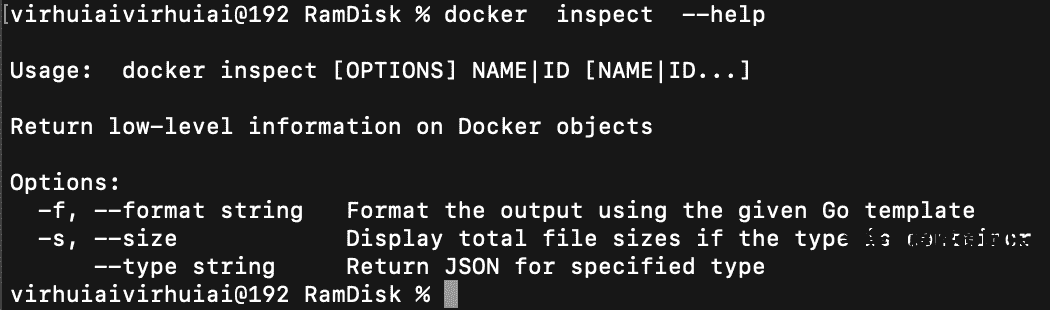
docker inspect --help
例子:查看镜像busybox:latest的详细信息:
docker inspect busybox:latest
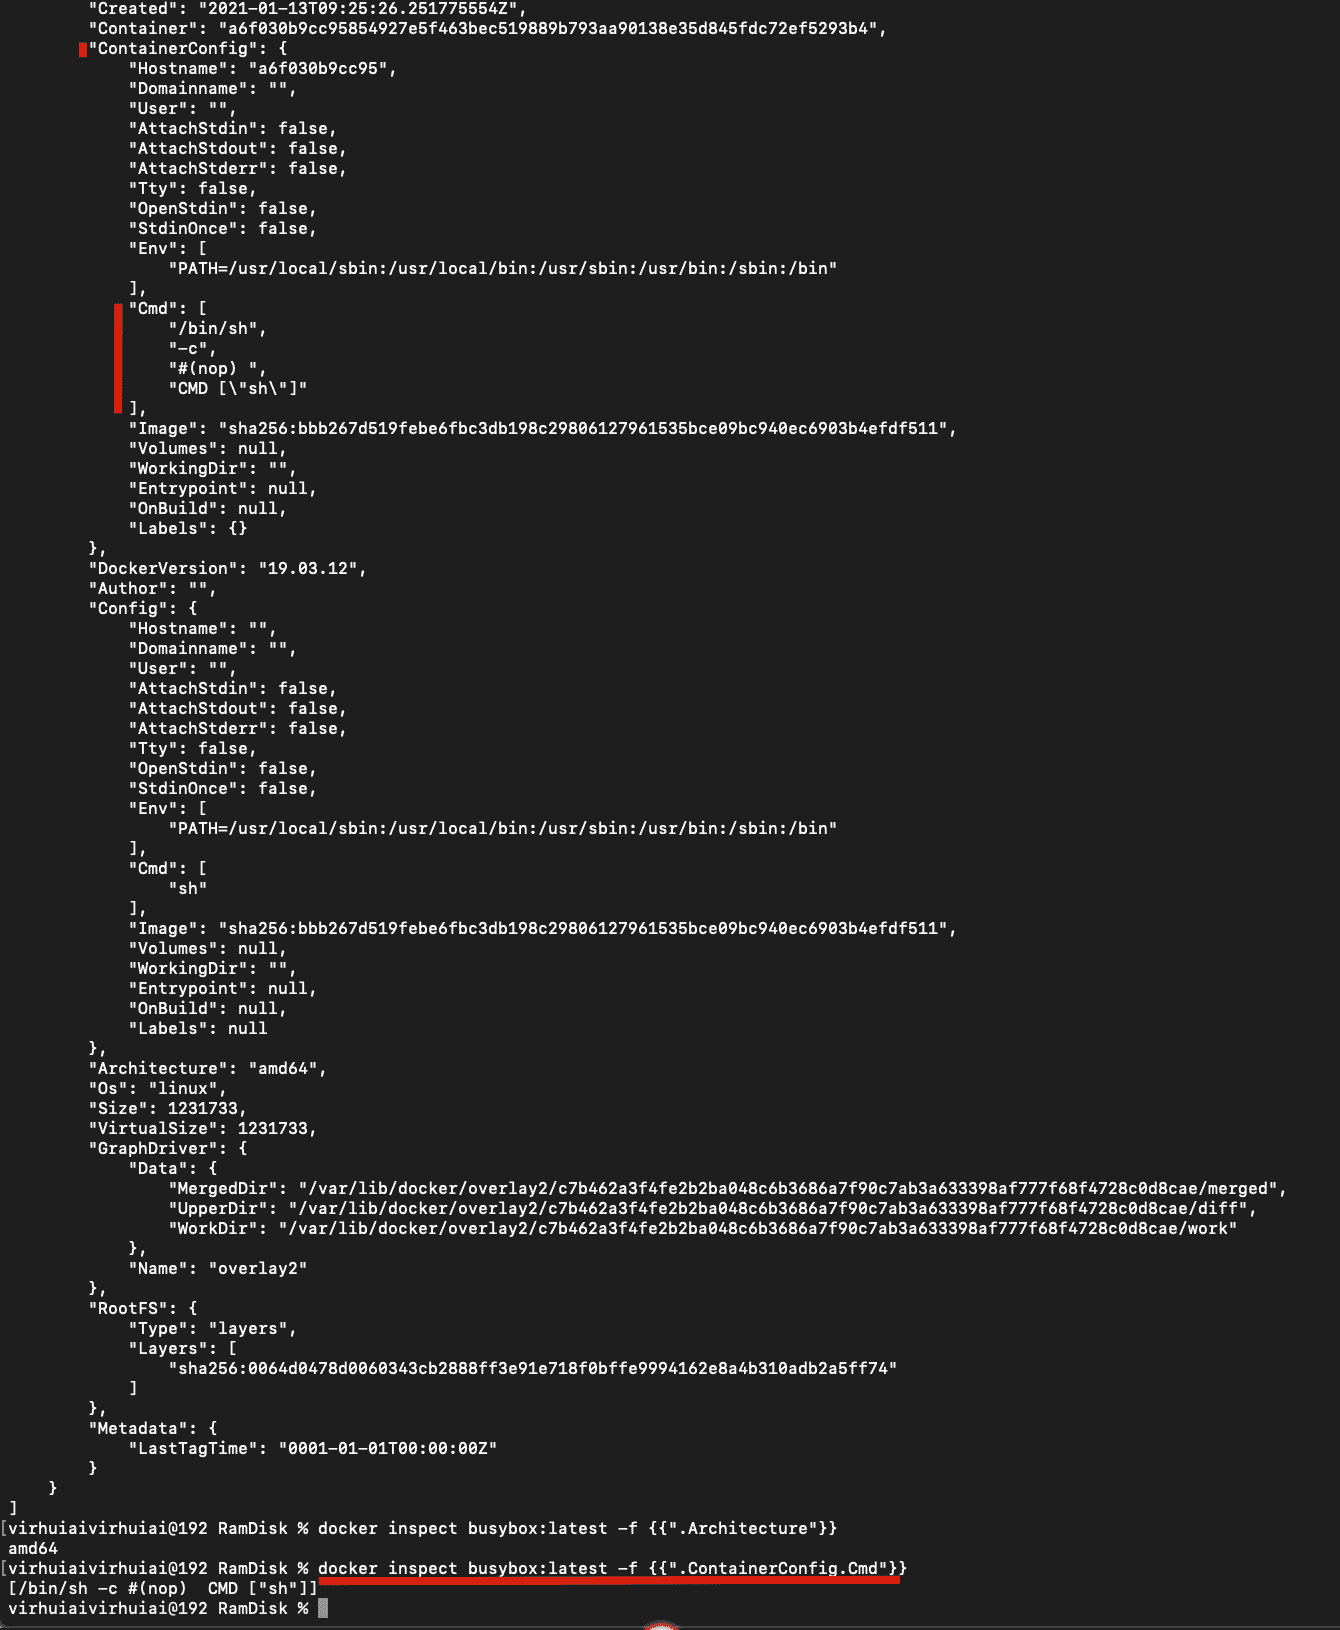
例子:获取镜像的Architecture:
docker inspect busybox:latest -f .Architecture
amd64
例子:获取的.ContainerConfig.Cmd:
docker inspect busybox:latest -f .ContainerConfig.Cmd
[/bin/sh -c #(nop)  CMD ["sh"]]
多个键值时也用
.来分隔
例子:查看容器WorkingDir:
docker inspect gradle:6.5.1 -f .ContainerConfig.WorkingDir

例子:查看Env:
docker inspect gradle:6.5.1 -f .ContainerConfig.Env
docker inspect gradle:6.5.1 -f .ContainerConfig.Env
[PATH=/opt/java/openjdk/bin:/usr/local/sbin:/usr/local/bin:/usr/sbin:/usr/bin:/sbin:/bin LANG=en_US.UTF-8 LANGUAGE=en_US:en LC_ALL=en_US.UTF-8 JAVA_VERSION=jdk8u262-b10 JAVA_HOME=/opt/java/openjdk GRADLE_HOME=/opt/gradle GRADLE_VERSION=6.5.1]
例子:查看Cmd:
docker inspect gradle:6.5.1 -f .ContainerConfig.Cmd
docker inspect gradle:6.5.1 -f .ContainerConfig.Cmd
[|1 GRADLE_DOWNLOAD_SHA256=50a7d30529fa939721fe9268a0205142f3f2302bcac5fb45b27a3902e58db54a /bin/sh -c set -o errexit -o nounset     && echo "Downloading Gradle"     && wget --no-verbose --output-document=gradle.zip "https://services.gradle.org/distributions/gradle-${GRADLE_VERSION}-bin.zip"         && echo "Checking download hash"     && echo "${GRADLE_DOWNLOAD_SHA256} *gradle.zip" | sha256sum --check -         && echo "Installing Gradle"     && unzip gradle.zip     && rm gradle.zip     && mv "gradle-${GRADLE_VERSION}" "${GRADLE_HOME}/"     && ln --symbolic "${GRADLE_HOME}/bin/gradle" /usr/bin/gradle         && echo "Testing Gradle installation"     && gradle --version]
docker inspect gradle:6.5.1 -f .Config.Cmd
docker inspect gradle:6.5.1 -f .Config.Cmd
[gradle]
inspect选项
inspect子命令支持的选项介绍:
-f, --format string: Format the output using the given Go template-s, --size: Display total file sizes if the type is container--type string: Return JSON for specified type
history-查看镜像历史/创建信息(输出完整命令)
docker history [OPTIONS] IMAGE
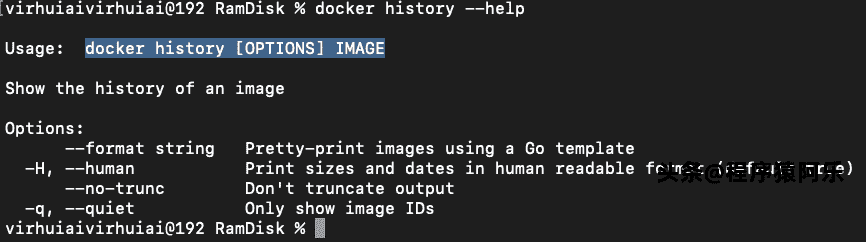
docker history --help
例子:列出gradle:6.5.1各层的创建信息。
docker history gradle:6.5.1
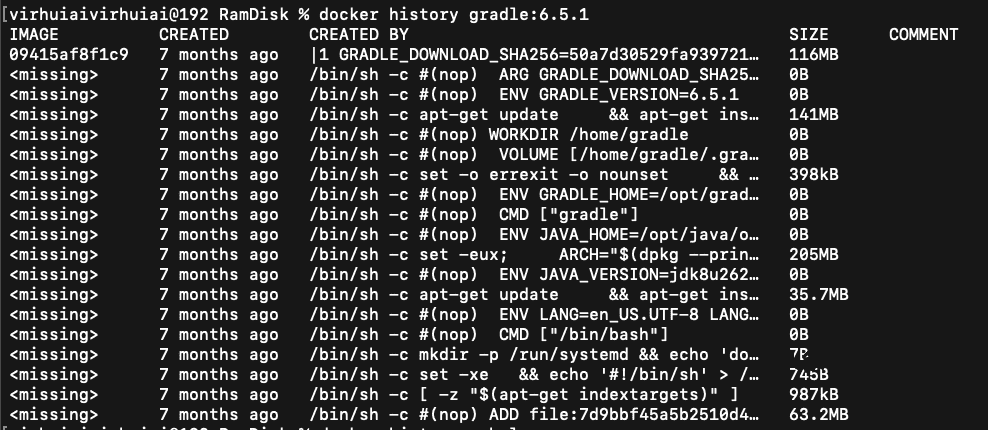
注意,过长的命令被自动截断了
例子:列出gradle:6.5.1各层的创建信息(输出完整命令)。
docker history --no-trunc gradle:6.5.1
-
--format string: Pretty-print images using a Go template -
-H, --human: Print sizes and dates in human readable format (default true) -
--no-trunc:命令不截断
Don’t truncate output
truncate 美 ['trʌŋ.keɪt] 英 [trʌŋ'keɪt] vt.删节(尤指掐头或去尾) adj.截短的;被删节的 网络截断;清空表里的所有记录;截形 -
-q, --quiet:Only show image IDs
search-搜寻镜像
docker search [OPTIONS] TERM
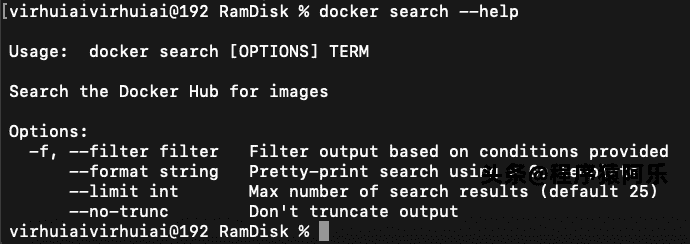
docker search --help
例子:搜索官方提供的带nginx关键字的镜像:
docker search --filter=is-official=true nginx
例子:搜索所有收藏数超过4的关键词包括tensorflow的镜像:
docker search --filter=stars=4 tensorflow
可以看到返回了很多包含关键字的镜像,其中包括镜像名字、描述、收藏数(表示该镜像的受欢迎程度)、是否官方创建、是否自动创建等。默认的输出结果将按照星级评价进行排序。
search选项
-
-f, --filter filter:Filter output based on conditions provided
过滤输出内容;
-
--format string:Pretty-print search using a Go template
格式化输出内容;
-
--limit int:Max number of search results (default 25)
限制输出结果个数,默认为25个;
-
--no-trunc: Don’t truncate output
删除镜像rmi
使用docker rmi或docker image rm命令可以删除镜像:
docker rmi [OPTIONS] IMAGE [IMAGE...]
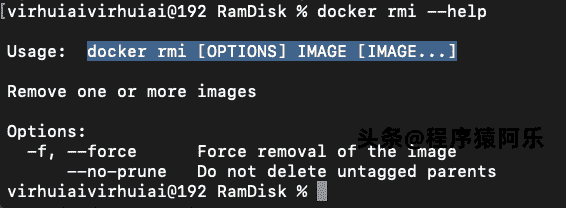
docker rmi --help
其中IMAGE可以为标签或ID。
当同一个镜像拥有多个标签的时候,docker rmi命令只是删除了该镜像多个标签中的指定标签
当使用docker rmi命令,并且后面跟上镜像的ID(也可以是能进行区分的部分ID串前缀)时,会先尝试删除所有指向该镜像的标签,然后删除该镜像文件本身。
例子:要删除掉myubuntu:latest镜像:
docker rmi myubuntu:latest
rmi选项
-
-f, --force:
Force removal of the image强制删除镜像,即使有容器依赖它;
注意,通常并不推荐使用
-f参数来强制删除一个存在容器依赖的镜像。正确的做法是,先删除依赖该镜像的所有容器,再来删除镜像。 -
--no-pruneDo not delete untagged parents
不要清理未带标签的父镜像。
清理镜像
使用Docker一段时间后,系统中可能会遗留一些临时的镜像文件,以及一些没有被使用的镜像,可以通过docker image prune命令来进行清理。
docker image prune [OPTIONS]
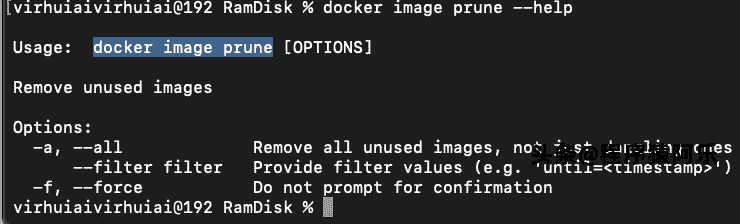
docker image prune --help
prune
美 [prun]
英 [pruːn]
v.精简;修剪(树木的枝叶);修枝;删去
n.【食】梅干;西梅脯
网络李子;剪除;剪枝
例子:自动清理临时的遗留镜像文件层,最后会提示释放的存储空间:
$ docker image prune -f
...
Total reclaimed space: 1.4 GB
prune选项
-a, --all: Remove all unused images, not just dangling ones 删除所有无用镜像,不光是临时镜像;--filter filter: Provide filter values (e.g.'until=<timestamp>') 只清理符合给定过滤器的镜像;-f, --force: Do not prompt for confirmation 强制删除镜像,而不进行提示确认。Ω
创建镜像
创建镜像的方法主要有三种:基于已有镜像的容器创建、基于本地模板导入、基于Dockerfile创建。
基于已有容器创建
docker commit [OPTIONS] CONTAINER [REPOSITORY[:TAG]]
docker container commit [OPTIONS] CONTAINER [REPOSITORY[:TAG]]

docker container commit --help
例子:下面将演示如何使用commit命令创建一个新镜像:
docker [container] commit -m "Added a new file" -a "Docker Newbee" a925cb40b3f0 test:0.1
具体操作:
首先,启动一个镜像,并在其中进行修改操作。例如,创建一个test文件,之后退出,代码如下:
$ docker run -it ubuntu:18.04 /bin/bash
root@a925cb40b3f0:/# touch test
root@a925cb40b3f0:/# exit
记住容器的ID为a925cb40b3f0。
此时该容器与原ubuntu:18.04镜像相比,已经发生了改变,可以使用docker [container] commit命令来提交为一个新的镜像。提交时可以使用ID或名称来指定容器:
$ docker [container] commit -m "Added a new file" -a "Docker Newbee" a925cb40b3f0
test:0.1
9e9c814023bcffc3e67e892a235afe61b02f66a947d2747f724bd317dda02f27
顺利的话,会返回新创建镜像的ID信息,例如9e9c814023bcffc3e67e892a235afe61b02f66a947d2747f724bd317dda02f27。
此时查看本地镜像列表,会发现新创建的镜像已经存在了:
$ docker images
REPOSITORY TAG IMAGE ID CREATED VIRTUAL SIZE
test 0.1 9e9c814023bc 4 seconds ago 188 MB
例子:为ubuntu:18.04镜像添加SSH服务,commit为新镜像:
docker pull ubuntu:18.04
docker run -it ubuntu:18.04 bash
...
docker commit   fc1 sshd:ubuntu
docker run -p 10022:22 -d sshd:ubuntu /run.sh
ssh 192.168.1.200-p 10022 ### commit选项
-
-a, --author string: Author ,例如:"John Hannibal Smith <hannibal@a-team.com>"作者信息;
-
-c, --change list: Apply Dockerfile instruction to the created image 提交的时候执行Dockerfile指令包括
CMD|ENTRYPOINT|ENV|EXPOSE|LABEL|ONBUILD|USER|VOLUME|WORKDIR等; -
-m, --message string: Commit message 提交消息; -
-p, --pause: Pause container during commit (default true) 提交时暂停容器运行。
基于本地模板导入
用户也可以直接从一个操作系统模板文件导入一个镜像:
docker image import [OPTIONS] file|URL|- [REPOSITORY[:TAG]]
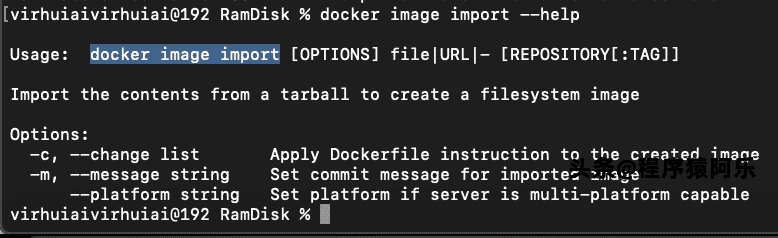
docker image import --help
要直接导入一个镜像,可以使用OpenVZ提供的模板来创建,或者用其他已导出的镜像模板来创建。OPENVZ模板的下载地址为http://openvz.org/Download/templates/precreated。
例子:下载了ubuntu-18.04的模板压缩包,之后使用以下命令导入即可:
cat ubuntu-18.04-x86_64-minimal.tar.gz | docker import - ubuntu:18.04
import选项
-c, --change list: Apply Dockerfile instruction to the created image-m, --message string: Set commit message for imported image--platform string: Set platform if server is multi-platform capable
基于Dockerfile创建
基于Dockerfile创建是最常见的方式。Dockerfile是一个文本文件,利用给定的指令描述基于某个父镜像创建新镜像的过程。
docker image build [OPTIONS] PATH | URL | -
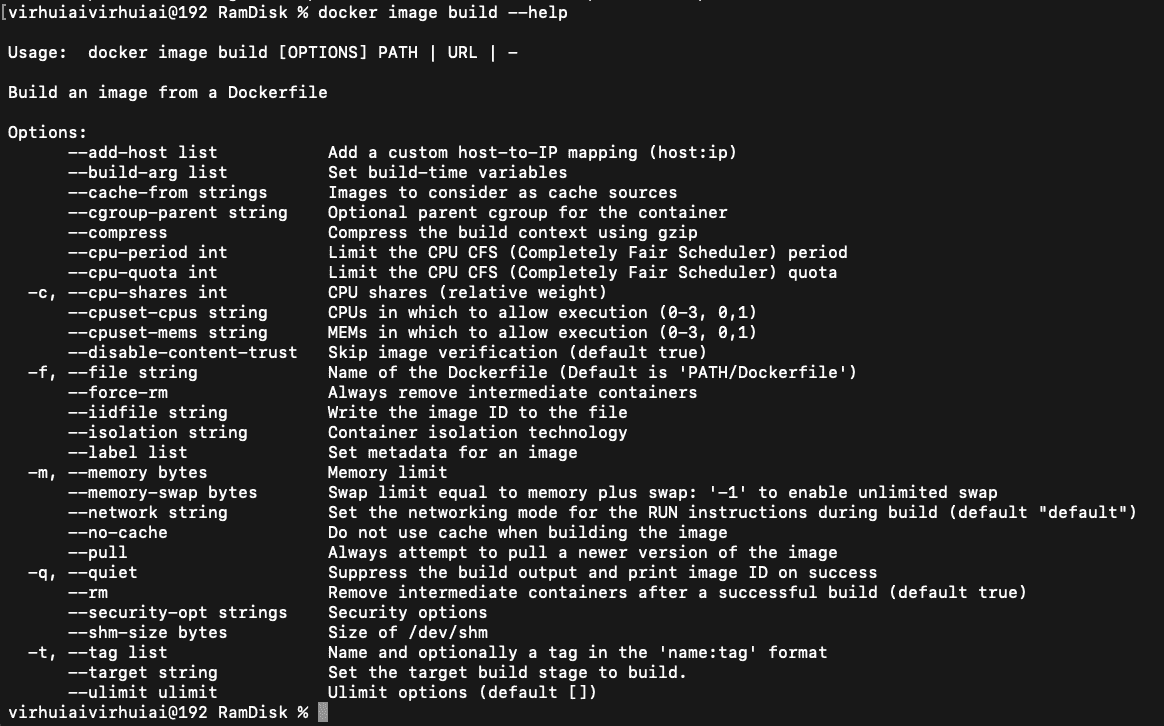
docker image build --help
例子:基于debian:stretch-slim镜像安装Python 3环境,构成一个新的python:3镜像:
FROM debian:stretch-slim

LABEL version="1.0" maintainer="docker user <docker_user@github>"

RUN apt-get update && \
apt-get install -y python3 && \
apt-get clean && \
rm -rf /var/lib/apt/lists/*
创建镜像的过程可以使用docker [image] build命令,编译成功后本地将多出一个python:3镜像:
$ docker [image] build -t python:3 .
...
Successfully built 4b10f46eacc8
Successfully tagged python:3
$ docker images|grep python
python 3 4b10f46eacc8 About a minute ago    95.1MB
build选项
-
--add-host list: Add a custom host-to-IP mapping (host:ip) -
--build-arg list: Set build-time variables -
--cache-from strings: Images to consider as cache sources -
--cgroup-parent string: Optional parent cgroup for the container -
--compress: Compress the build context using gzip -
--cpu-period int: Limit the CPU CFS (Completely Fair Scheduler) period -
--cpu-quota int: Limit the CPU CFS (Completely Fair Scheduler) quota -
-c, --cpu-shares int: CPU shares (relative weight) -
--cpuset-cpus string: CPUs in which to allow execution (0-3, 0,1) -
--cpuset-mems string: MEMs in which to allow execution (0-3, 0,1) -
--disable-content-trust:Skip image verification (default true)
-
-f, --file string: Name of the Dockerfile (Default is ‘PATH/- `Dockerfile’) -
--force-rm: Always remove intermediate containers -
--iidfile string: Write the image ID to the file -
--isolation string: Container isolation technology -
--label list: Set metadata for an image -
-m, --memory bytes: Memory limit -
--memory-swap bytes: Swap limit equal to memory plus swap: ‘-1’ to - `enable unlimited swap -
--network string: Set the networking mode for the RUN instructions - `during build (default “default”) -
--no-cache: Do not use cache when building the image -
--pull: Always attempt to pull a newer version of the image -
-q, --quiet: Suppress the build output and print image ID on - `success -
--rm: Remove intermediate containers after a successful - `build (default true) -
--security-opt strings: Security options -
--shm-size bytes: Size of /dev/shm -
-t, --tag list: Name and optionally a tag in the ‘name:tag’ -format: -
--target string: Set the target build stage to build. -
--ulimit ulimit: Ulimit options (default [])
镜像导出到本地
如果要导出镜像到本地文件,可以使用docker [image] save命令。
docker save [OPTIONS] IMAGE [IMAGE...]
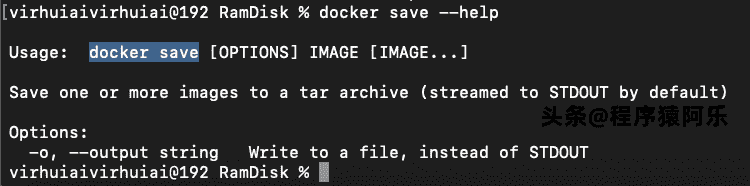
docker save --help
例子:导出本地的ubuntu:18.04镜像为文件ubuntu_18.04.tar:
$ docker images
REPOSITORY TAG IMAGE ID CREATED VIRTUAL SIZE
ubuntu 18.040458a4468cbc 2 weeks ago 188 MB
...
$ docker save -o ubuntu_18.04.tar ubuntu:18.04
之后,用户就可以通过复制ubuntu_18.04.tar文件将该镜像分享给他人。
save选项
-
-o, --output string:Write to a file, instead of STDOUT
导入镜像
可以使用docker [image] load将导出的tar文件再导入到本地镜像库:
docker load [OPTIONS]
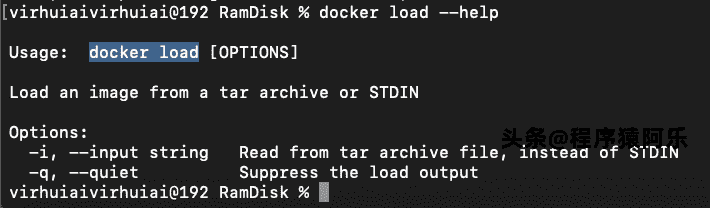
docker load --help
例子:从文件ubuntu_18.04.tar导入镜像到本地镜像列表:
$ docker load -i ubuntu_18.04.tar
或者:
$ docker load < ubuntu_18.04.tar
这将导入镜像及其相关的元数据信息(包括标签等)。导入成功后,可以使用docker images命令进行查看,与原镜像一致。
load选项
-i, --input string: Read from tar archive file, instead of STDIN-q, --quiet: Suppress the load output
推送镜像
push命令上传镜像到仓库,默认上传到Docker Hub官方仓库(需要登录)
docker push [OPTIONS] NAME[:TAG]
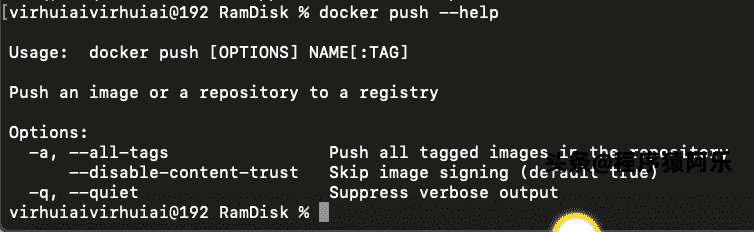
docker push --help
例子:用户user上传本地的test:latest镜像:
# 先添加新的标签
$ docker tag test:latest user/test:latest
# 上传
$ docker push user/test:latest
The push refers to a repository [docker.io/user/test]
Sending image list

# 登录
Please login prior to push:
Username:
Password:
Email:
第一次上传时,会提示输入登录信息或进行注册,之后登录信息会记录到本地~/.docker目录下。
push选项
-a, --all-tags: Push all tagged images in the repository--disable-content-trust: Skip image signing (default true)-q, --quiet: Suppress verbose output